Crush Your Week With This Pro Healthy Meal Prep System
Master your week with this high-efficiency healthy meal prep system. Save time, eat better, and hit your goals with pro-level tools and techniques.
Sunday afternoon hits and you’re staring at an empty fridge. The 6pm panic is real. You want to eat well, but you need a plan that actually works.
This isn’t just cooking. This is a Healthy Meal Prep System designed for your busiest weeks. It’s about working smarter, not harder, in the kitchen.
Why This Healthy Meal Prep System Is a Winner
This system takes the guesswork out of your nutrition. It’s perfect for a healthy reset when life feels chaotic. You’ll save hours of active labor every single week.
We use professional-grade tools to keep nutrients locked in. Everything stays fresh and delicious until Friday. You get restaurant-quality results without the daily cleanup stress.
Simple Method for Success
We focus on high-volume prep using high-speed tools. The food processor handles the heavy lifting for you. The pressure cooker automates your grains while you relax.
Even if you’re a beginner, this workflow is easy to master. It’s all about the sequence. Follow the steps and watch your fridge fill up fast.
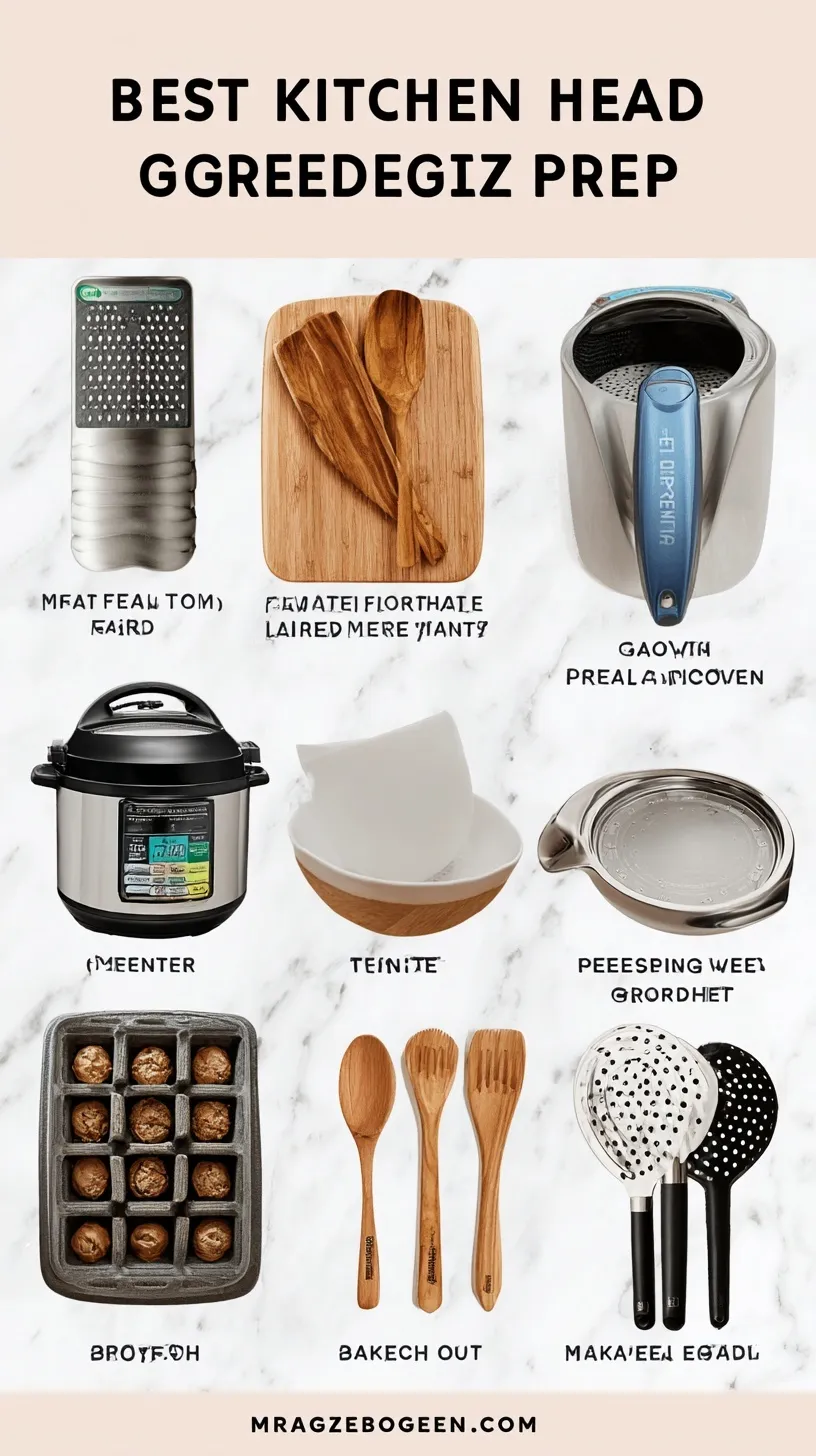
The Gear You’ll Need
Having the right tools makes this Healthy Meal Prep System feel effortless. Most of these are likely already in your kitchen!
- 1 unit 14-Cup Food Processor with Slicing and Shredding Discs
- 1 unit 6-Quart Multi-Functional Pressure Cooker
- 1 unit High-Speed Blender (minimum 1200 watts)
- 1 unit Digital Kitchen Scale (1-gram precision)
- 2 units Professional Half-Sheet Rimmed Baking Pans
- 1 set Airtight Glass Food Storage Containers (BPA-free, Oven-safe)
- 1 unit 8-inch Forged Stainless Steel Chef’s Knife
- 1 unit Large Non-Slip Composite Cutting Board
- 1 unit Instant-Read Digital Meat Thermometer
Step-by-Step Directions
- Sanitize all work surfaces and calibrate the digital kitchen scale to 0.0g to ensure precise macronutrient portioning.
- Process bulk fibrous vegetables using the food processor’s shredding disc to ensure uniform thickness for even roasting and sautéing.
- Load legumes or whole grains into the multi-functional pressure cooker; apply the appropriate preset to automate hydration and cooking while freeing up stovetop space.
- Utilize the high-speed blender to emulsify oil-free dressings and nutrient-dense sauces, ensuring a stable texture for refrigerator storage.
- Distribute proteins and vegetables across the rimmed baking sheets, ensuring single-layer placement to facilitate optimal Maillard reaction during roasting.
- Monitor internal protein temperatures using the digital thermometer to reach food safety benchmarks (e.g., 165°F for poultry) without overcooking.
- Standardize meal weights by using the digital scale to divide components into glass containers, maintaining caloric consistency across all portions.
- Apply airtight lids to glass containers and refrigerate immediately to minimize the duration of the ‘danger zone’ temperature range and extend shelf life.
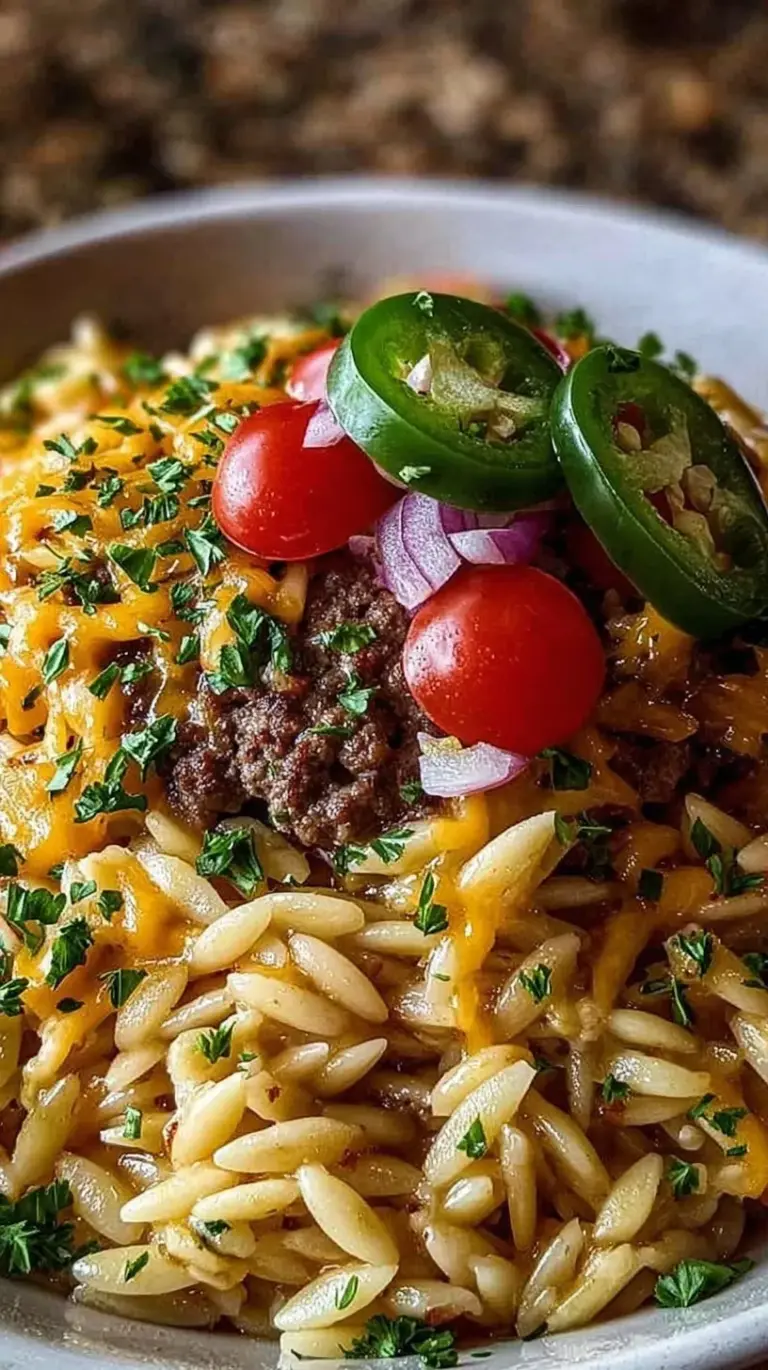
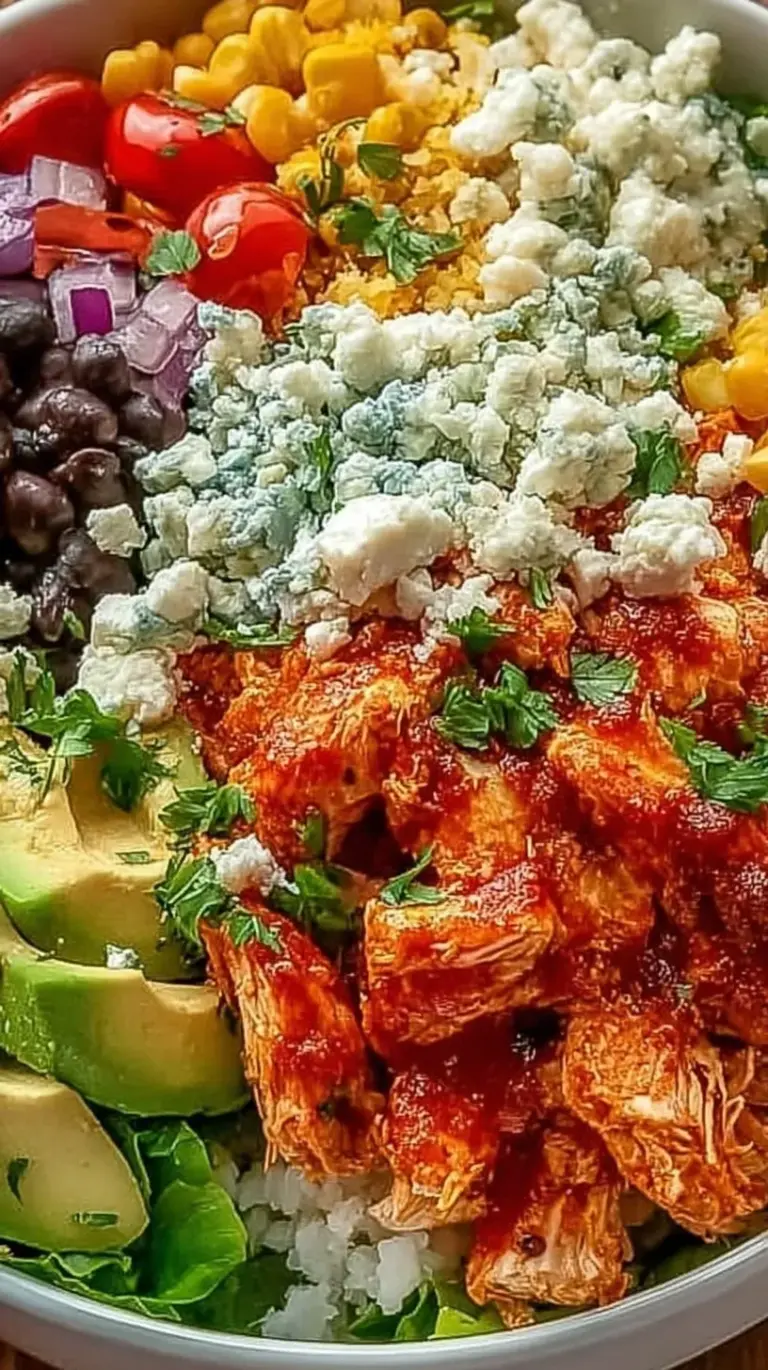
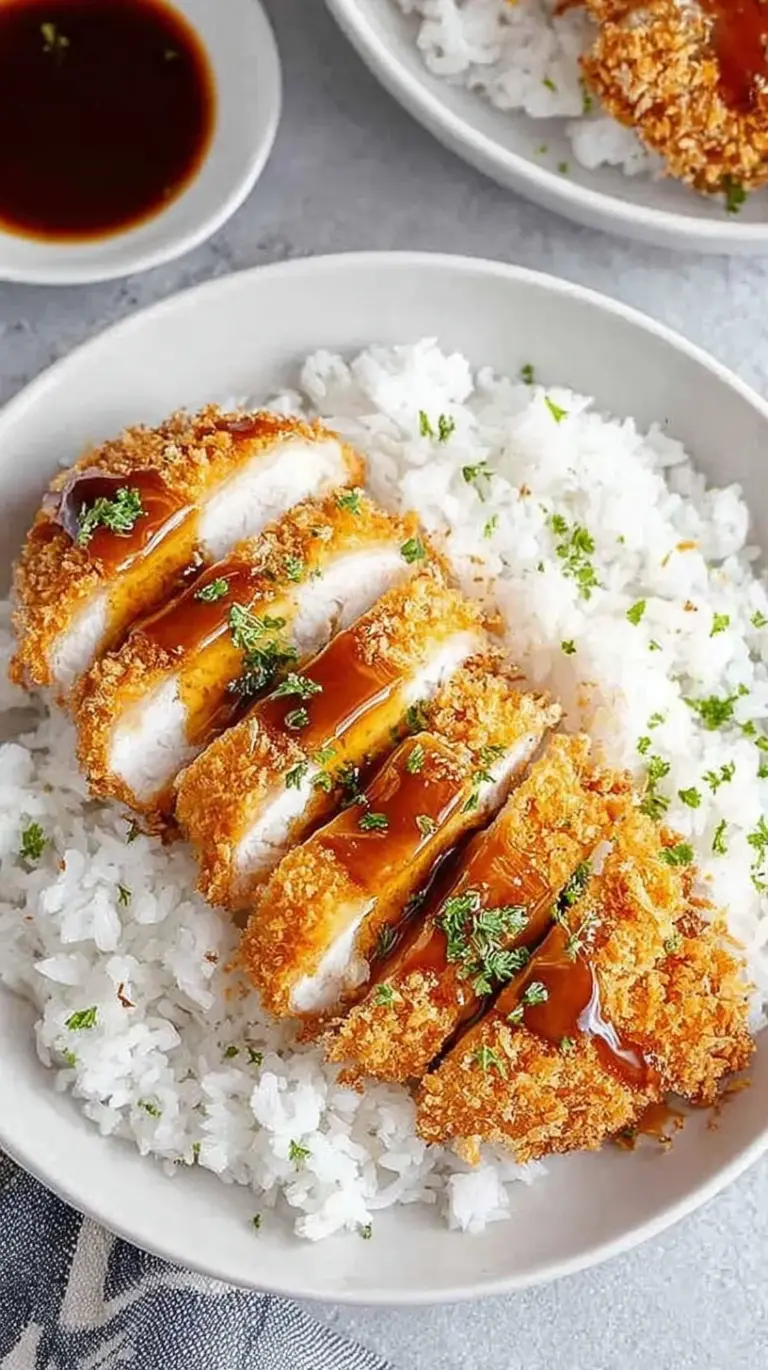
Best Ways to Enjoy It
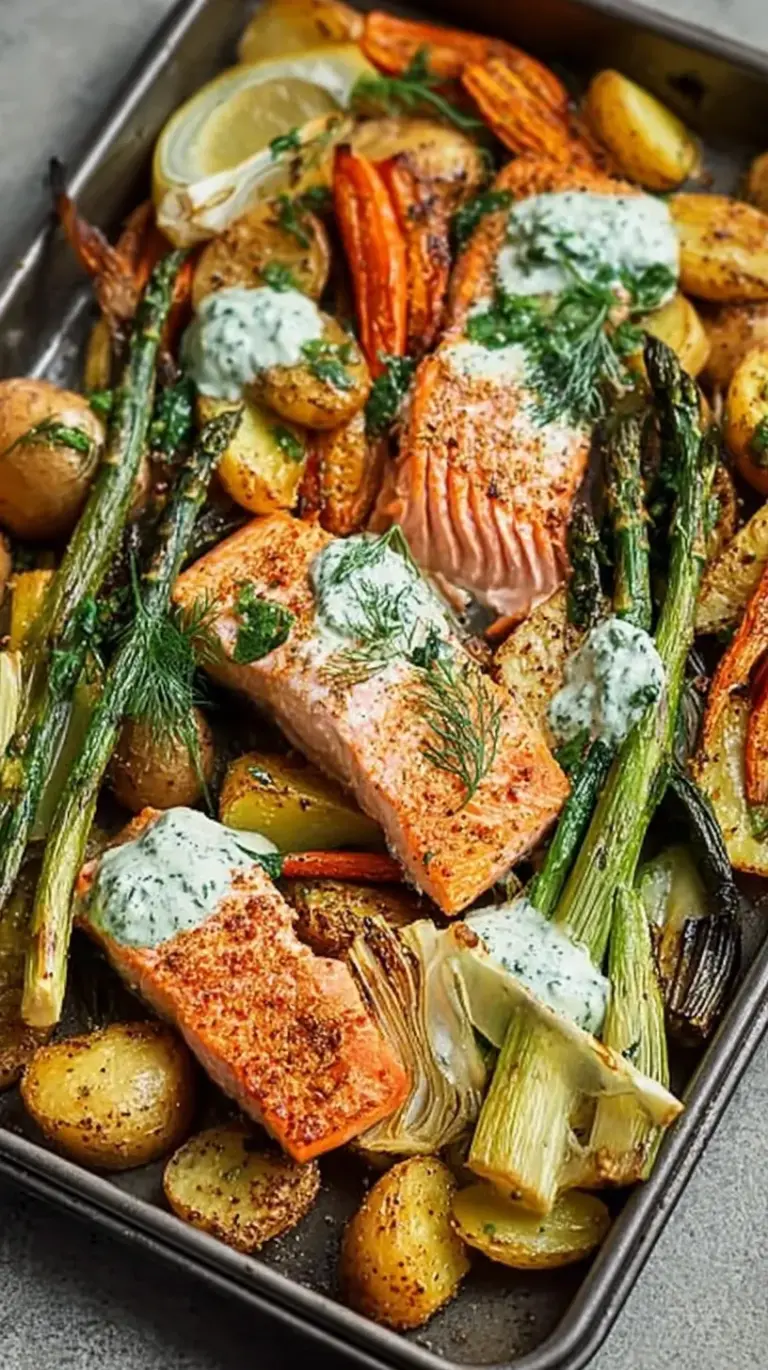
Serve your prepped meals warm with a sprinkle of fresh herbs. Add a squeeze of lemon to brighten the flavors right before eating. These containers are perfect for grab-and-go lunches.
Pair your proteins with a side of fresh greens. It’s the ultimate meal prep hack for a busy lifestyle. You’ll feel energized all week long.
Storage & Reheating
Store your meals in airtight glass containers for maximum freshness. They stay good in the fridge for up to five days. Reheat in the microwave or oven until steaming hot. Glass is best for maintaining the perfect texture.
Pro Tips for Best Results
- Always calibrate your scale before you start weighing.
- Cut your vegetables into uniform sizes for even roasting.
- Don’t crowd the baking sheets or veggies will steam.
- Use the pressure cooker for hands-off grain prep.
- Blend sauces until completely smooth for a creamy mouthfeel.
- Check meat temps early to avoid dry protein.
- Label your containers with the date and meal type.
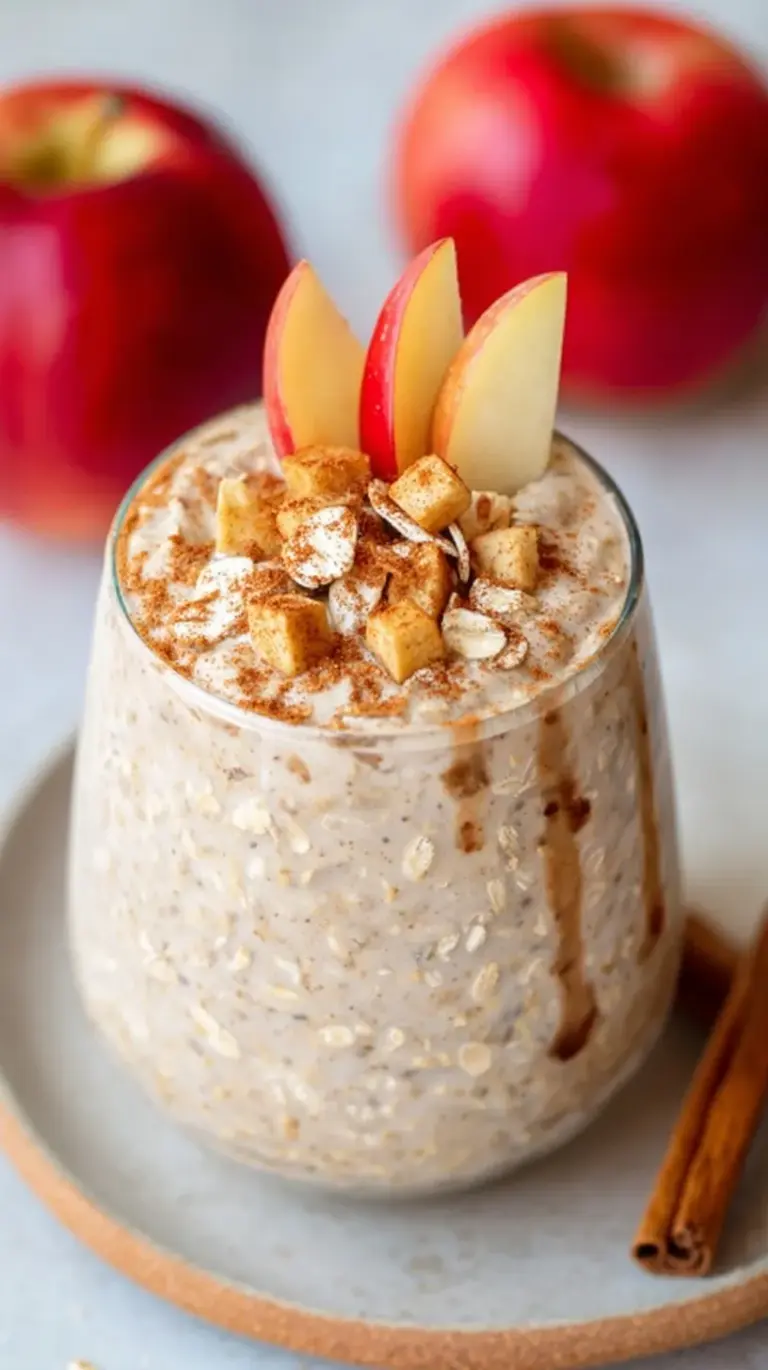
Ways to Switch It Up
- Swap grains for cauliflower rice for a low-carb version.
- Use different spice blends on each baking sheet.
- Try a tahini-based dressing for a nutty flavor profile.
- Add pickled onions for a pop of acidity.
FAQs
Do I really need a kitchen scale?
Yes, it’s the only way to ensure perfect portion control every time.
Can I use plastic containers?
Glass is better for reheating and keeps food tasting fresher for longer.
You are one prep session away from a stress-free week. Go get it!
— Jasmine
Ingredients
Method
- Sanitize all work surfaces and calibrate the digital kitchen scale to 0.0g to ensure precise macronutrient portioning.
- Process bulk fibrous vegetables using the food processor's shredding disc to ensure uniform thickness for even roasting and sautéing.
- Load legumes or whole grains into the multi-functional pressure cooker; apply the appropriate preset to automate hydration and cooking while freeing up stovetop space.
- Utilize the high-speed blender to emulsify oil-free dressings and nutrient-dense sauces, ensuring a stable texture for refrigerator storage.
- Distribute proteins and vegetables across the rimmed baking sheets, ensuring single-layer placement to facilitate optimal Maillard reaction during roasting.
- Monitor internal protein temperatures using the digital thermometer to reach food safety benchmarks (e.g., 165°F for poultry) without overcooking.
- Standardize meal weights by using the digital scale to divide components into glass containers, maintaining caloric consistency across all portions.
- Apply airtight lids to glass containers and refrigerate immediately to minimize the duration of the 'danger zone' temperature range and extend shelf life.